
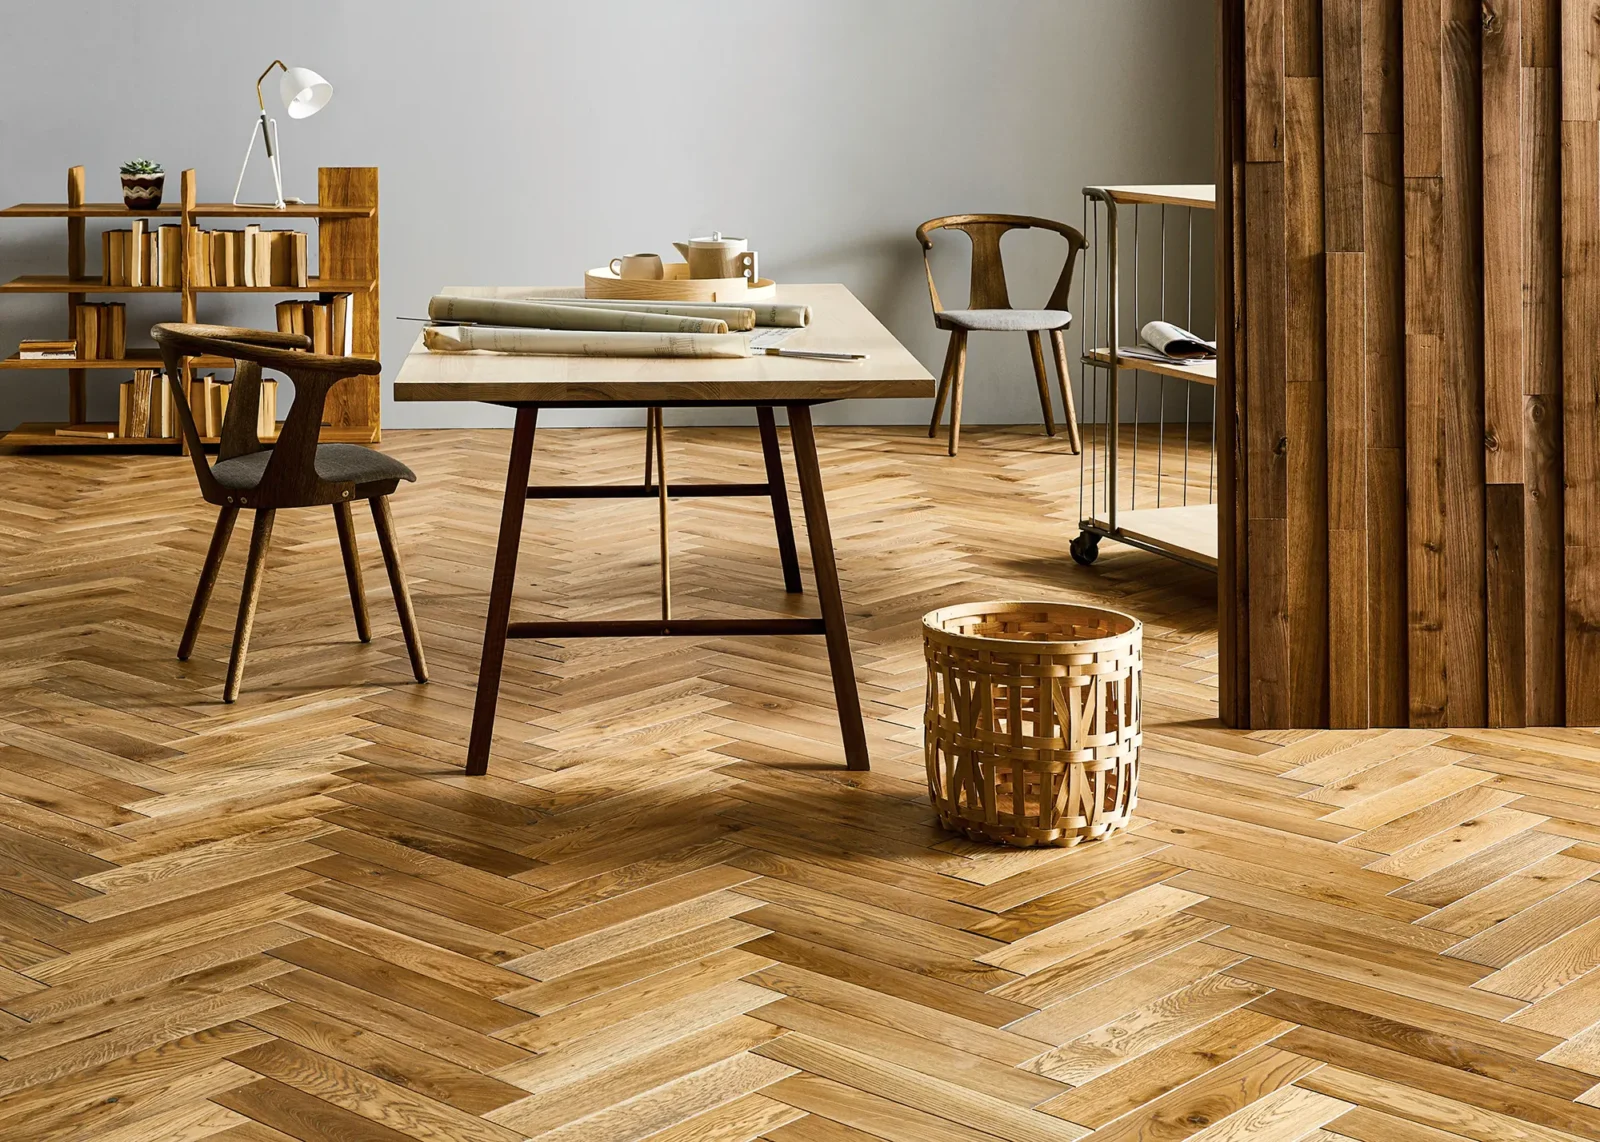
A herringbone pattern has long been revered for its timeless charm and elegance. When executed in porcelain tiles, this classic design choice can elevate the ambiance of any space, whether it’s a modern kitchen, a luxurious bathroom, or a sophisticated living room. However, achieving a flawless herringbone floor requires meticulous preparation, skilled setting out, and precise laying techniques. In this comprehensive guide, Flex Tiling in Bristol will walk you through the step-by-step process of creating a stunning herringbone floor with porcelain tiles.
Preparation: The Foundation of Success
The key to a successful herringbone floor lies in thorough preparation. Before any tiles are laid, any qualified tiler in Bristol would ensure the surface is smooth, level, and free from imperfections. The tiler would carefully inspect the subfloor, making necessary repairs to guarantee a stable foundation for the porcelain tiles. Proper preparation prevents future issues such as cracks, uneven tiles, or grout problems, ensuring a long-lasting and beautiful herringbone floor.
Moreover, experienced tilers in Bristol are well-versed in selecting the right tile size and pattern to match the room’s dimensions. They carefully consider the space’s proportions to create a herringbone floor that enhances the room’s aesthetics and creates a visually stunning impact.
Bristol Tiling understands that preparation is not limited to the subfloor. They also take the time to ensure all necessary materials, tools, and equipment are readily available for the installation. This foresight minimises delays and ensures a smooth and efficient laying process.
Setting Out: The Art of Precision

Setting out is a critical phase in creating the herringbone pattern. Flex Tiling takes great care in planning the layout to achieve the desired symmetry and flow. Using chalk lines and reference points, they mark the starting point and ensure straight lines along the floor. Precision is key, as any misalignment can disrupt the entire pattern. The skilled tilers methodically set out the pattern to create a symmetrical and visually pleasing herringbone design.
Laying the Tiles: A Masterpiece in Progress
With the foundation prepared and the pattern set out, it’s time for the tiler to bring the herringbone design to life. The process begins with applying the adhesive evenly across the subfloor, making sure to work in small sections to prevent the adhesive from drying too quickly. The tilers lay the first tiles at the starting point, paying close attention to the pattern’s alignment and ensuring each tile is firmly pressed into place.
To maintain the precision of the herringbone pattern, Bristol Tiling uses tile spacers to create consistent gaps between each tile. This step is crucial in achieving the uniformity and elegance that herringbone floors are known for.
Skillful Cutting and Shaping
Creating a herringbone floor involves intricate cutting and shaping of the tiles, especially around corners and edges. Flex Tiling skillfully uses a wet saw or tile cutter to achieve precise cuts that fit seamlessly into the pattern. This meticulous craftsmanship ensures that every tile complements the design, resulting in a seamless herringbone floor that appears as a work of art.
Grouting and Finishing Touches
After the tiles have been carefully laid, it’s time to apply the grout. Bristol Tiling uses a grout that complements the colour of the porcelain tiles, further enhancing the herringbone pattern’s overall appearance. They apply the grout with precision, ensuring every joint is filled evenly and smoothly. Once the grout has set, they meticulously clean the tiles, leaving behind a spotless herringbone floor.
The finishing touches are just as essential as the laying process itself. Bristol Tiling understands that attention to detail is what sets a professional herringbone floor apart from an ordinary one. They conduct a thorough inspection of the floor, making sure all tiles are properly aligned, the grout lines are consistent, and the surface is flawlessly finished.
Aftercare Tips for Maintaining a Porcelain Tile Herringbone Floor
To ensure your investment stands the test of time, proper aftercare is essential. With the expertise of Tilers Bristol, we present you with some helpful tips to maintain the beauty and longevity of your stunning flooring.
Regular Cleaning: Regular sweeping or vacuuming will prevent dirt and grit from scratching the surface of your herringbone floor. For routine cleaning, use a damp mop with a gentle pH-neutral cleaner. Avoid harsh chemicals, as they can damage the tile’s finish.
Stain Prevention: To protect your porcelain tiles from stubborn stains, immediately wipe up spills, especially from acidic substances like wine, vinegar, or citrus juices. Prompt attention will prevent staining and ensure your floor maintains its pristine appearance.
Grout Maintenance: Herringbone patterns emphasise the beauty of your floor, and keeping the grout lines clean is crucial. Periodically inspect and clean the grout using a mixture of baking soda and water. For stubborn grime, a soft-bristled brush can be used, but refrain from using metal or abrasive tools that may scratch the tiles.
Regular Sealing: Sealing your porcelain herringbone floor is vital for added protection against moisture and stains. Depending on the usage, consider resealing the tiles every six months to a year. Contact any Tiler in Bristol for professional advice on the right sealant and its application.
Furniture Pads and Rugs: To avoid scratching or scuffing the tiles, place furniture pads under the legs of chairs, tables, and other heavy items. Additionally, area rugs or doormats can protect high-traffic areas and trap dirt before it reaches the floor.
Preventive Measures: High heels and heavy, sharp objects can potentially damage porcelain tiles. Encourage family members and guests to remove their shoes upon entering to prevent unnecessary wear and tear. Also, using soft pads under furniture when moving them will minimise any risk of tile damage.
Avoid Excessive Water: While porcelain tiles are water-resistant, it’s best to avoid excessive water on the floor. Clean up spills promptly, and refrain from using steam cleaners, as the moisture can seep into the grout lines and weaken them over time.
By following these aftercare tips provided by Tilers Bristol, you can ensure your porcelain tile herringbone floor retains its pristine appearance and durability for many years to come.

Conclusion
Creating a herringbone floor with porcelain tiles is a labour-intensive process that requires the expertise and skill of Bristol Tiling. From thorough preparation to precise setting out and meticulous tile laying, the herringbone pattern demands attention to detail at every stage. The result is a stunning and timeless floor that adds elegance and sophistication to any space. So, whether you’re renovating your home or embarking on a new construction project, trust Flex Tiling to bring the beauty of a herringbone floor to life.
By combining their experience, precision, and dedication to excellence, Flex Tiling have mastered the art of creating herringbone floors that stand the test of time. Whether it’s for a contemporary loft apartment, a classic Victorian townhouse, or a chic office space, a herringbone floor crafted by skilled tilers can truly transform the entire look and feel of a room. So, if you’re looking to add a touch of elegance and sophistication to your space, consider the timeless beauty of a herringbone floor, laid with expertise by Bristol Tiling.


